Rifle
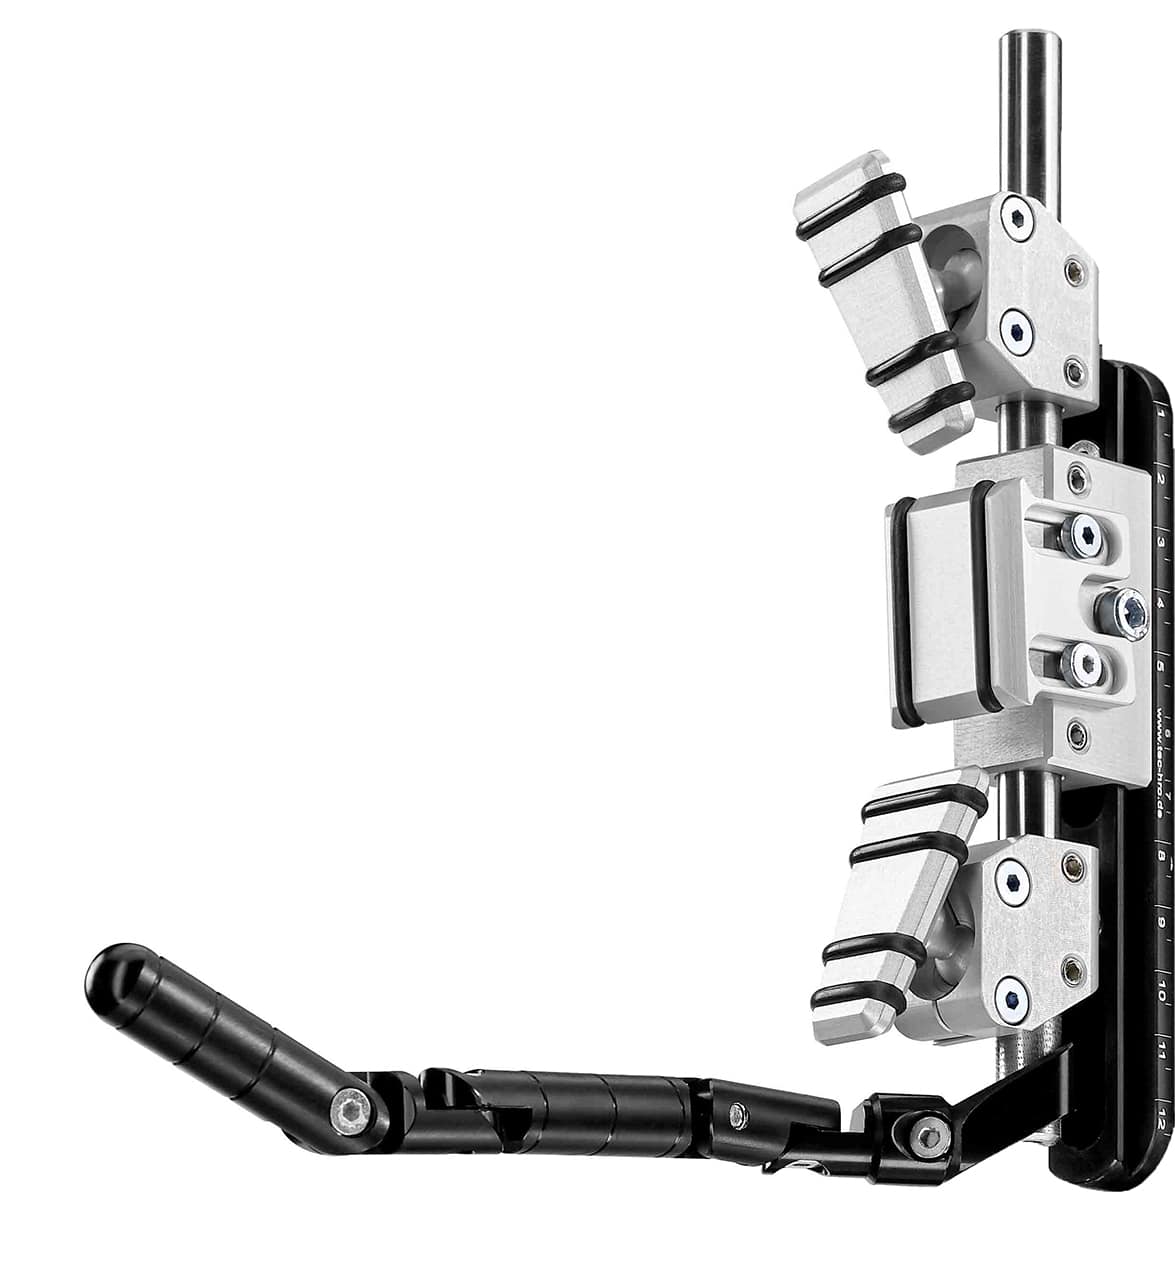
Butt Plate:
The butt plate forms the connection between the sports equipment and your shoulder/upper arm area. For this purpose, the butt plate is adapted to the insertion position by means of individual adjustment options. The butt plate can be individually adjusted depending on the manufacturer and construction. The maximum height adjustment is determined by the construction. Adjustment to the right and left, parallel to the standard position, as well as turning in the vertical axis may not exceed 15 mm. The setting should be such that the butt plate fits over the entire surface of your shoulder to ensure firm body contact at all times. The passive pressure of your trigger hand on the grip creates the most important connection between the butt plate and the insertion point between the sporting weapon and your body.
TIP:
The "TEC-HRO fusion" butt plate from TEC-HRO is particularly flexible in its ergonomic and anatomic adjustment settings. You can easily adjust it to your insertion position in just a few steps to achieve an optimal fit. The narrow and particularly short design of the contact surfaces are an advantage for your feel. This butt plate from TEC-HRO is suitable for stock from many different manufacturers. You can easily and quickly retrofit the butt plate with the hook construction with two double joints for adjustment in three-position competition small bore.
Cheek Pieces:
The cheek piece serves to support your head when looking centrically through the sights. The cheek piece should be adjusted so that your head and cervical spine are in an ergonomic position. For optimal positioning of your head, the cheek piece can be individually adjusted horizontally, vertically and in its inclination, depending on the manufacturer.
Grip:
The size of the grip can vary depending on the manufacturer. The size must be individually adapted to your trigger hand in order to be able to grip the grip well. However, there must be no contact between the grip and your chest. The setting must therefore be chosen with some distance. As a guide to the grip position, the position of your foremost finger limb in relation to the trigger tongue is helpful. If possible, there should be a 90° angle between your first and third finger limb. (For triggers with a first pull, 90° for a first pull that has been overcome). When adjusting the grip, make sure that your wrist is not bent.
Handlebar:
Depending on the manufacturer, the handlebar can be adjusted horizontally, vertically and in its inclination. The width of the handlebar also depends on the manufacturer and type. When choosing the right handlebar, it is important to weigh up the requirements of the application. For example, some are suitable for the insertion of a hand stop for three-position competition, others rather extend the support surface for shooting on a rest.
Trigger Tongue:
The trigger tongue may vary in size and shape depending on the manufacturer. The choice of the optimal shape is up to you. It is important that the optimal positioning of your first finger limb is always the same. Aids here are small tips or rubber nubs on the trigger to always achieve good repeatability. The settings of the trigger and the trigger weight, as well as the first pull of the trigger, are adjusted by means of set screws. More detailed information can be found in the operating manuals of the respective manufacturers.
Sight:
The so-called line of sight is defined by the straight line between your eye, the diopter, the front sight and the target image. If you rest your head optimally and look centrically through the diopter, the distance between your aiming eye and the diopter should be between 5 and 8 cm. If the distance is too small, aiming errors may occur. If the distance is too large, the light incidence will be too low. The distance can be adjusted individually by moving the diopter.
Diopter:
The diopter is used for precise adjustment of the hit point position. Depending on the manufacturer's design, the hit point position changes after turning the respective adjustment wheel in the horizontal or vertical plane. You have to find out for yourself how many clicks you have to turn per ring. With most diopters the rule is 3 clicks for each ring to be adjusted. This setting does not apply to diopters with a very fine adjustment rate.
Iris Aperture:
The iris aperture is the screw-in attachment on the diopter with the opening of the sight in the direction of the target image. With a small aperture circle, your view is sharpened. Depending on the manufacturer and design, the aperture circle can be widened or narrowed. The following applies: "The smaller the hole, the sharper but also fainter the target image appears". In order to be able to react optimally to the weather conditions on open shooting ranges, different colour settings are also possible, depending on the manufacturer's design.
Sight Raiser Block:
The sight raiser block is an aid to bring your head into an ergonomic position and still be able to look centrically through the diopter. For this purpose, spacers of the same height are pushed under the diopter and front sight tunnel, thus slightly raising the sighting line. Depending on the manufacturer, these can be adjusted in height and also horizontally. Care should be taken that the distance between the centre of the ring and the centre of the barrel does not exceed 6 cm.
TIP:
The "TEC-HRO rapid" sight line from TEC-HRO is recommended so that you can adjust your sight line easily and individually within seconds. After installation, you no longer need any tools. The advantages of the new design save you valuable time during the conversion phases in the three-position competition and give you the opportunity for more test shots. The grid with scale shows you the set height and serves to reproduce the position for the respective discipline.

Front Sight Tunnel:
The front sight tunnel serves as orientation in the sighting in the centric arrangement of the system. The front sight tunnel is the holder for the front ring sight, the position can be adjusted on the rifle. With a maximum length of 50 mm and a maximum diameter of 25 mm, the front sight tunnel must not protrude beyond the barrel muzzle. A variation of the closed front sight tunnel is the open front sight tunnel, here the glass ring front sight and an orientation ring front sight, with a larger ring, are clamped into the holder. This type of front sight holder allows for a very beautiful and high-contrast target image.
Front Ring Sight:
The design of the ring front sight can vary greatly depending on the manufacturer and type (free ring, crosshairs, horizontal bar, vertical bar, colouring). The simplest here are certainly the exchangeable rings that are inserted or screwed into the front sight tunnel. A more user-friendly variant is the adjustable ring front sight, which is screwed into the front sight tunnel and can be variably adjusted at any time.
Weights and Weight Distribution:
Most sports equipment is below the maximum permissible weight in its original state. With the help of additional weights you can achieve the optimal weight for you. Depending on the design, the additional weights can be attached to the barrel or the stock, but make sure that the centre of gravity of the sporting equipment always changes as well. When you place the rifle on your hand rest position, it should be balanced or slightly top-heavy.
Shooting glasses:
Shooting glasses serve as a visual aid in sport shooting, as in everyday life. In sport shooting, difficulties can arise, especially when aiming. One indication of the need for shooting glasses may be that you are unable to maintain your aiming concentration over the course of a competition. Blurring of the ring front sight and shooting mirror, as well as an unexplained hit pattern can also be signs. You should consult an optician who is experienced in the sport of shooting when having your spectacle lenses made. A telephone call to the optician will help you to gather all the necessary data, such as the length of your sighting line, in advance. As an alternative to shooting glasses, there is the possibility of attaching the lens to a headband or directly to the sport weapon with the help of a so-called monoframe. In any case, you should inform your optician before taking your sporting rifle with you and discuss it with him.
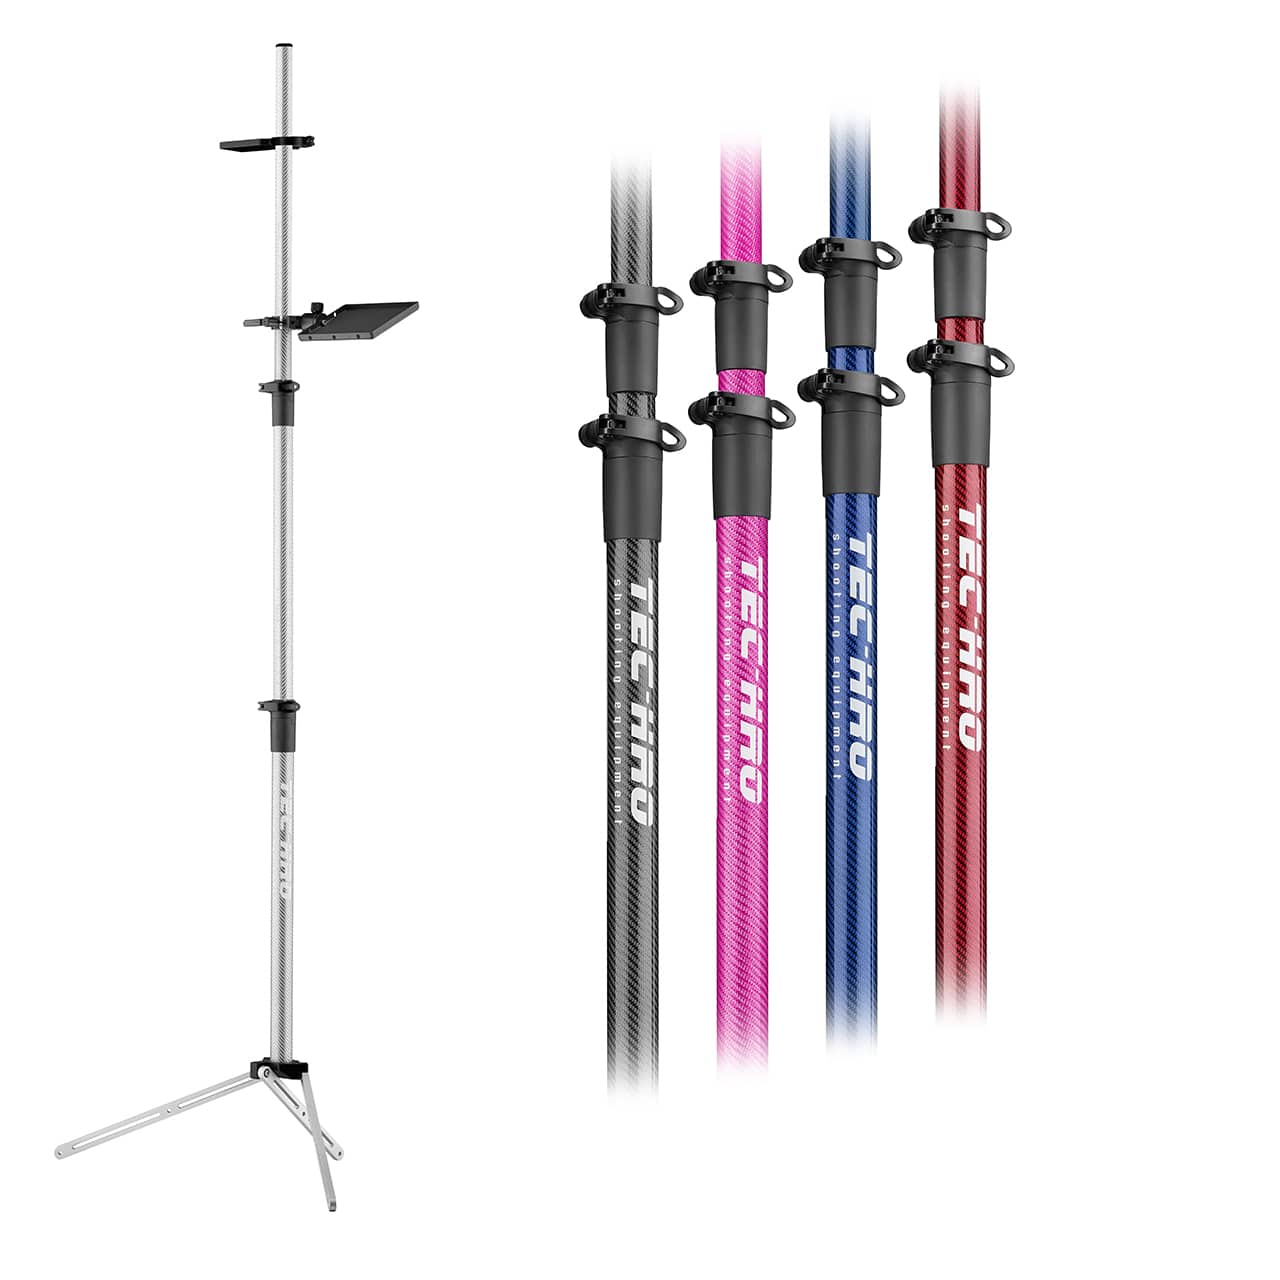
Tripod to Rest:
As the name suggests, a tripod to rest is used to rest the sports equipment. This refers to the rest of the sports equipment during loading and rest breaks. The elevated position of the tripod makes your lifting work and your action sequence as motionless as possible. It is not advisable to use a tripod for rest for side lever air rifle. The tripods are not designed for this particular procedure.
TIP:
A particularly stable and stylish tripod is, for example, the "TEC-HRO Tripod 3.0 Carbon" from TEC-HRO. The quick-release levers allow you to set up and take down the tripod quickly and easily without tools. The foot geometry makes it possible to place the tripod directly on the parapet without wasting space. The ammunition rack can also be easily attached to your desired position via the clamping levers.